Limewash Rediscovered: A Short History and Practical Guide to Applying a Breathable Wall Finish
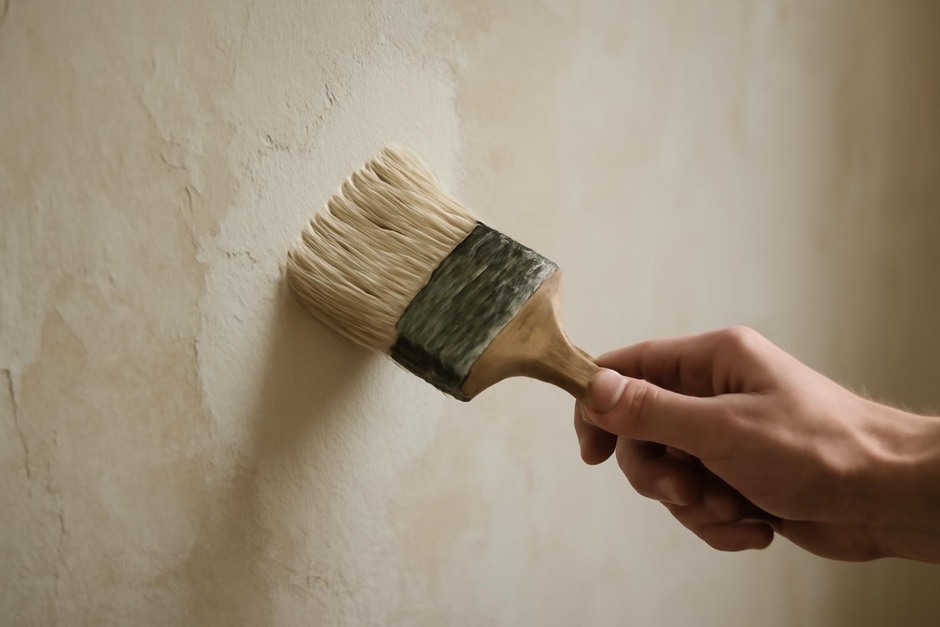
Limewash is one of the oldest ways people finished walls. From whitewashed cottages and farm buildings to medieval churches, thin slurries of slaked lime have been prized for their soft matt appearance, subtle texture and breathable nature. In recent years designers and homeowners have renewed interest in limewash for its natural aesthetic and compatibility with traditional building fabrics.
Why limewash? A brief historical note
Historically, limewash was made by slaking quicklime into a putty, then diluting and applying it to masonry or plaster. The material carbonates over time, turning back into a form of limestone and creating a mineral bond with the substrate. This process makes limewash tolerant of moisture movement in old walls and less likely to trap dampness than non-breathable modern paints.
Step-by-step method: Preparing and applying limewash
- Assess the surface. Limewash bonds best to porous, mineral-based substrates such as lime plaster, brick or stone. Remove loose paint, flaking plaster and heavy dirt. If the surface is modern, painted or very smooth, consider testing a small area first or mechanically abrading the surface.
- Clean and dampen. Brush or lightly wash away dust and salts. Before applying, moisten the substrate evenly with clean water; a damp but not dripping surface helps even absorption and reduces blotching.
- Choose your lime material. For home use, opt for hydrated lime putty or a commercial pre-mixed limewash formulated for interiors. Avoid handling quicklime directly. Follow supplier instructions for safety: use gloves, goggles and avoid inhaling dust.
- Mix the limewash. Slowly stir lime putty with clean water to a milk-like consistency. For pigmented limewash, add small amounts of stable mineral pigments (earth or iron oxide pigments) and mix thoroughly. Do a test batch to check color after drying—limewash lightens as it carbonates.
- Test a patch. Apply a small sample on the wall and allow it to cure over several days. Observe adhesion, color and texture before proceeding to larger areas.
- Apply the first coat. Use a natural-bristle masonry brush and work in even, overlapping strokes. Keep coats thin—brush-on washes should be translucent. On very porous surfaces you may need a slightly stronger first coat to fill pores.
- Allow curing and re-dampen between coats. Let the first coat carbonate for 24–48 hours depending on humidity. Lightly mist the surface with water before applying subsequent coats to encourage an even finish and reduce patchiness.
- Apply two to three coats. Most traditional limewash finishes use multiple thin coats rather than one thick one. Build up color gradually until you achieve the depth and opacity desired.
- Cure time and final appearance. Full carbonation can take weeks to months; the finish will gradually harden and mellow. Avoid sealing with non-breathable varnishes unless necessary, as this alters the wall’s moisture performance.
Tools and safety
- Natural-bristle masonry brushes, buckets, mixing stick
- Protective gloves, safety glasses and a dust mask during mixing
- Clean water for mixing and dampening
Variations
- Tinted limewash: Add mineral pigments in small amounts to create soft earth tones. Test on a sample board because the final hue shifts as the lime cures.
- Layered and rubbed effects: Apply contrasting colors in successive coats and gently abrade with a damp sponge for a patinated look.
- Scumble and wash techniques: Dilute limewash further for a sheer glaze, or apply thicker for more opacity. Traditional whitewash is essentially a very diluted limewash.
- Exterior use: On exterior masonry, allow for weather exposure and use breathable detailing. Exterior limewash may require more frequent maintenance but can weather attractively.
Troubleshooting: Common issues and remedies
- Patchy or blotchy color: Cause: uneven substrate porosity or applying too thick a coat. Remedy: pre-wet the surface, thin coats, and test a sample to adjust technique.
- Powdery or flaky surface: Cause: poor adhesion due to dust, grease, or incompatible substrate. Remedy: clean or remove contaminants, abrade smooth paints, and retest. Very stubborn flaking may need the old finish removed back to sound material.
- Cracking or peeling: Cause: coats that are too thick or rapid drying in hot conditions. Remedy: apply thinner coats, protect from direct sun or wind during curing, and allow longer between coats.
- Efflorescence or rising salts: Cause: soluble salts migrating through the wall. Remedy: treat the moisture issue where possible and remove salts before reapplying. In some cases a sacrificial limewash layer is acceptable because it can be refreshed.
- Staining: Cause: tannins, rust or biological growth. Remedy: identify the stain source, clean appropriately and allow substrate to dry; severe stains may require specialized cleaning before limewashing.
Limewash connects contemporary interiors with long-standing building traditions. With modest tools and patience, it yields a soft, natural finish that ages gracefully. Always start with a small test area to refine your mix and application for the specific wall you’re treating.