Drying Herbs at Home: Air-Drying vs Oven and Dehydrator Methods
Drying fresh herbs is one of the easiest ways to keep a small harvest useful through the seasons. Two common approaches are passive air-drying and active heat-assisted drying using an oven or electric dehydrator. Each preserves aroma and flavor differently, and each suits different kitchens, herbs, and lifestyles. Below is a clear comparison to help a beginner pick a method, followed by a short, repeatable routine you can use each week.
Approach 1: Passive Air-Drying (Hanging or Flat)
Air-drying relies on slow evaporation at ambient temperature. It is the oldest method and requires little equipment: string, scissors, and a dry, well-ventilated spot.
How it works
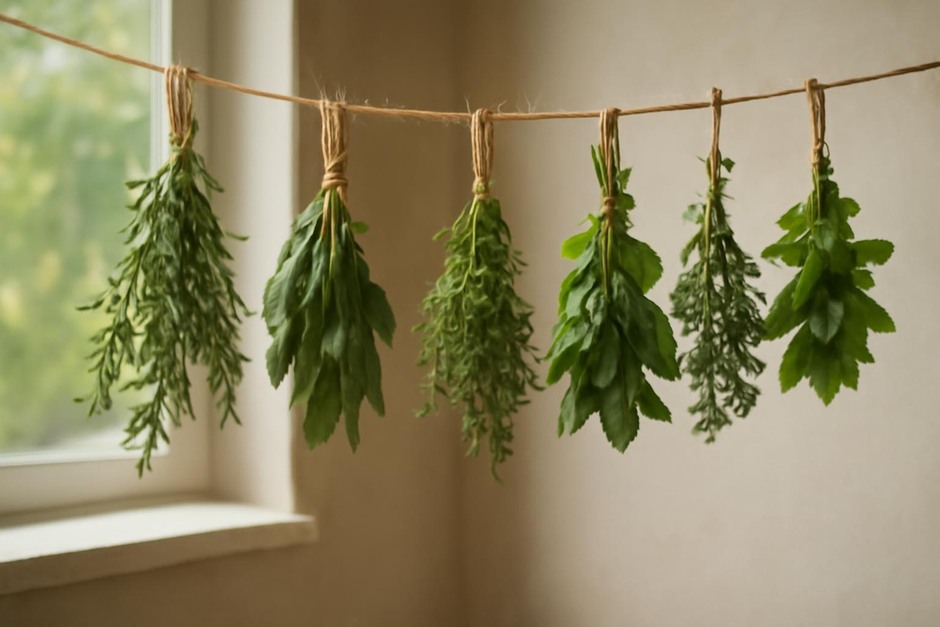
- Gather herbs into small bundles (4–8 stems) and tie with string.
- Hang bundles upside down in a warm, dry, and ventilated area out of direct sunlight.
- Allow 1–3 weeks for leaves to become brittle; time varies by herb and humidity.
Pros
- Low cost: no equipment needed.
- Gentle: preserves delicate aromas in many herbs like thyme, rosemary, and bay leaf.
- Eco-friendly: uses no extra energy.
Cons
- Slow: can take days to weeks, depending on humidity.
- Not ideal for moisture-prone herbs: basil and mint may darken or ferment if not dried quickly.
- Space needed: requires a clean hanging spot with good airflow.
Approach 2: Heat-Assisted Drying (Oven or Electric Dehydrator)
Heat-assisted methods speed moisture removal using low heat and moving air. They are practical when you want predictable results in hours rather than days.
How it works
- Spread cleaned leaves or small sprigs on a tray in a single layer.
- Use a dehydrator at 95–115°F (35–46°C) or an oven set to its lowest setting with the door propped slightly open for airflow.
- Drying typically takes 1–6 hours depending on leaf thickness and humidity.
Pros
- Fast and predictable: good for high-humidity climates or large batches.
- Versatile: works well for basil, mint, and parsley that can lose quality when air-dried slowly.
- Neat setup: uses counter or oven space rather than hanging areas.
Cons
- Energy use: consumes electricity or gas, though briefly.
- Risk of overheating: too much heat can cook essential oils and dull flavor.
- Requires attention: trays may need turning to ensure even drying.
How to Choose Between the Two
Choose based on the type of herb, your climate, available space, and how quickly you want results. Use this checklist to decide:
- Herb type: Woody herbs (rosemary, thyme, sage) are excellent for air-drying. Tender, high-moisture herbs (basil, mint, parsley) often benefit from heat-assisted drying.
- Climate: In dry climates, air-drying is reliable. In humid regions, a dehydrator or oven will prevent mold and discoloration.
- Quantity: Large harvests are easier to process with a dehydrator or oven racks to handle more volume at once.
- Equipment and space: If you lack a ventilated hanging area, heat-assisted methods may be simpler. Conversely, if you avoid extra appliances, air-drying is ideal.
- Flavor priority: If preserving the most delicate aroma matters, favor low-temperature air-drying or the lowest possible dehydrator setting to avoid overheating.
Often, a hybrid approach works well: air-dry woody herbs and use a dehydrator for tender ones. Try small test batches to compare aroma and color before committing to a large harvest.
A Short, Repeatable Weekly Routine for Home Herb Drying
Use this simple routine to make herb drying manageable and habit-forming. It takes 20–30 minutes of hands-on time and fits into a weekly kitchen rhythm.
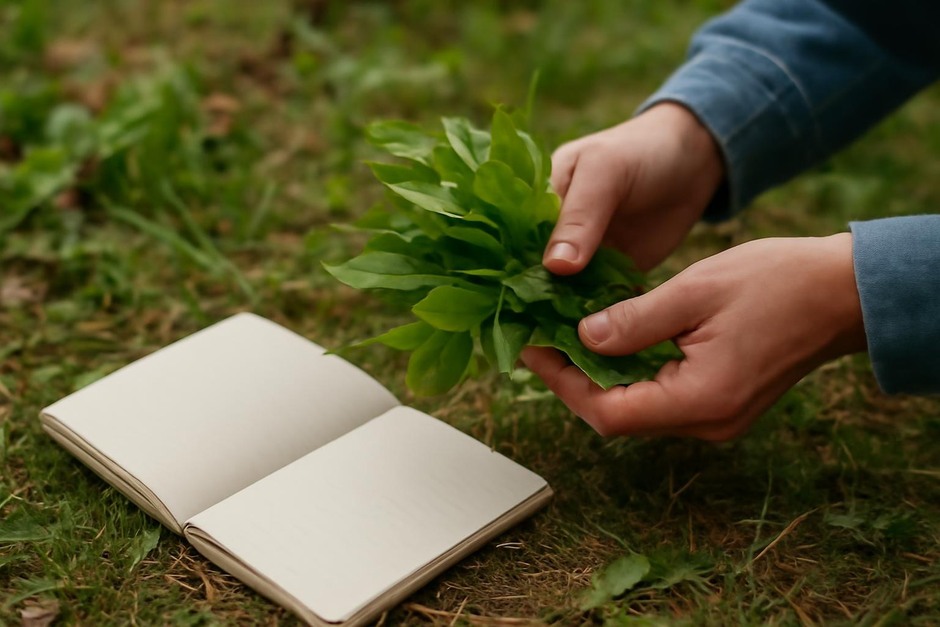
- Harvest day (10–15 minutes): In the morning after dew dries, snip herbs before midday heat. Choose healthy stems and avoid flower heads unless you want them.
- Clean and sort (5 minutes): Shake off insects and rinse gently if needed. Pat dry with a towel. Group herbs by type and by drying method (air vs heat).
- Prepare for drying (5–10 minutes):
- For air-drying: tie small bundles and hang in a ventilated spot.
- For dehydrator/oven: spread leaves on trays in a single layer; set dehydrator or oven to the recommended low temperature.
- Check and store (5 minutes, later): When leaves are brittle (air-dried) or fully dry (heat-assisted), remove from stems, crush lightly if desired, and store in airtight containers away from light.
Repeat weekly during the growing season. Label jars with herb and date, and rotate older jars forward when cooking. Small, steady batches preserve flavor better than waiting for a large harvest.
With a little practice, you’ll find the combination of methods that fits your kitchen and tastes. Both air-drying and heat-assisted drying have a place in a sustainable, home-centered routine for enjoying homegrown herbs year-round.